
How To Paint A Room
o you want to brighten up your room but don’t know the best way to paint it? Have the perfect creative vision but aren’t sure how to bring it to life? Sometimes, you may have a great idea but feel as though you don’t have the necessary skills or experience to turn it into a reality.
BorisDoes knows that painting can be tricky if you don’t have the experience, and it can be stressful to approach alone. But, don’t worry, don’t discard your creative ideas – we’re here to help make them come true! We’ve put together this helpful blog to break down the process and help you get your walls looking great in no time and with minimal stress. Read on for our expert tips on how to paint a room for the best results!
Planning
Unfortunately, before you grab your roller and start painting, there’s a bit of planning to do. After all, you don’t want to finish painting and realise you’ve used the wrong paint or chosen a colour that doesn’t match the rest of your interiors! However, you don’t have to paint all your walls the same colour, especially if you’re going for an accent wall. Start by deciding if you want a cool or warm shade, then start looking at samples. Don’t forget to test out a swatch on your walls before you make your final decision! Often, colours can look different in different light conditions, so make sure to have a look at how the colour looks at different times of the day. It is also low-VOC, making it environmentally friendly too.
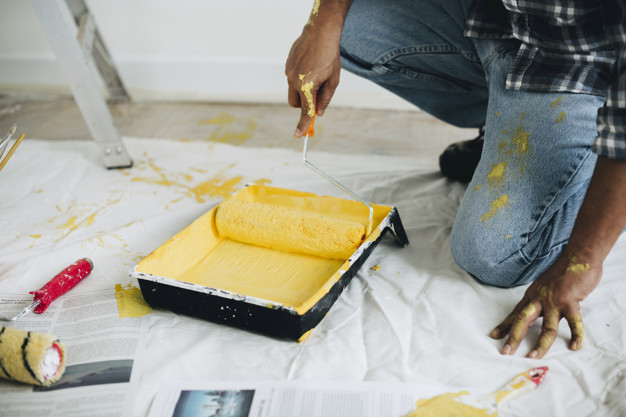
Collecting tools and materials
Now you’re one step closer to the painting itself! But first, you need to make sure that you have all the tools you will need. Although every painting project is different, here are a couple of general tools that you’ll want to have in your arsenal.
- Paint
- Paint roller
- Paint roller extension pole
- Drop cloths
- Paintbrushes in different sizes and thicknesses
- Paint tray
- Sandpaper
- Painter’s tape
- Rags
- Putty knife
Protecting your belongings
Before you start to paint, it’s important to protect your belongings from any stray paint splatters that may occur. Small items of furniture or belongings that can be easily transported should be removed from the room. Larger pieces of furniture should be covered with drop cloths, which should also be placed on the floor under the area you are painting.
Which type of drop cloth should I use?
Plastic drop cloths are an inexpensive way of protecting your floors and furnishings from paint splatters. However, canvas drop cloths are more durable and lay flat, presenting much less of a tripping hazard. Canvas also absorbs paint, unlike plastic which becomes slippery when spattered with paint. For better quality coverage and the ability to be reused, consider investing in canvas dropcloths.
Preparing the room for painting
Before you start painting, the surface should be properly prepared. After all, no paint will be able to hide any cracks or pockmarks in the wall properly. To start this process, you should fill in any cracks or holes in the walls. Apply two coats of plaster compound to repair any defects in the wall. You’ll then want to sand down the plastered surface until it is nice and smooth. After you have finished sanding, you’ll be left with some dust. Give your walls a good clean before you bring out the paint.
Determine how much paint you’ll need
The amount of paint you need will depend on the project. Generally, a deep colour base will require more coats than a lighter one. Highly textured surfaces will also require more paint than a smooth one. Consider using an online paint calculator to figure out how much paint you will need for a more precise number.
Priming your walls
Priming your walls is one of the most important steps in the painting process, particularly when you’re painting over drywall or painting over a dark colour. It blocks stains from bleeding through and also improves paint adhesion to reduce blisters and peeling significantly. Pro painters will often tint the primer by mixing a small amount of topcoat paint into the primer. This handy trick helps to enhance the ability of the topcoat to hide the primed service completely. Although you can buy paints containing primers, a dedicated primer is best at covering and improving the paint’s adhesion.
Mixing your paint
So, you’ve done your planning and chosen the perfect colour, now it’s time to mix your paint! To stir your paint, choose a wooden paint stick, and make sure to continually restir throughout the project. If you’re using a large amount of paint, mix the different cans into one large bucket in case there is a slight variation in colour.
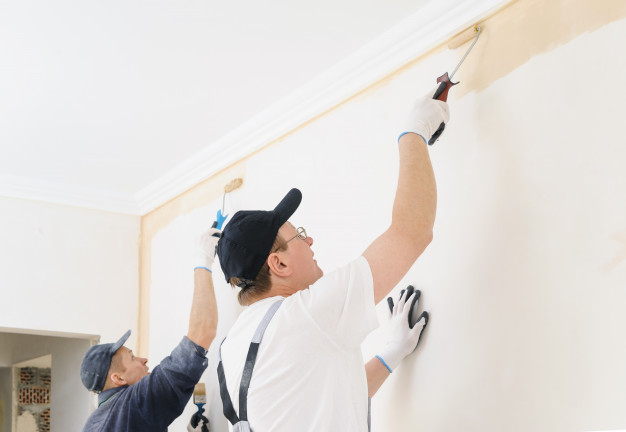
Painting techniques
Always work from the top of the wall down, starting with the ceilings. If you cover up dark walls with a brighter colour, use three coats of paint: your primer, plus two coats of the new colour, to ensure nothing shows through. When using a roller, use long strokes in a W pattern. This will give you maximum coverage – and avoid those annoying roller marks! Once the wall is completely dry to the touch, it is ready for the second coat. If you’re painting the trim, remove the painter’s tape and wait for the walls to dry before applying tape to the walls. You should start with the trim closest to the ceiling before moving on to the door and window frames and, lastly, the baseboards.
Extension poles
A telescoping extension pole is the best option if you need to reach heights. Check that your paint roller’s handle has a threaded hole in the end, and then simply twist it onto the extension pole. When you’re choosing your extension pole, go for one that has a soft, non-slip grip and rigid metalcore. Choose an extension pole that has a metal handle to allow you to achieve better control when painting.
Painting tips to get the best results
- Strain your paint before you use it. Even if you have bought your paint fresh from the store, it could still have small chunks of hard paint in it. To ensure a smooth consistency, use a paint strainer over an empty can to catch any debris pieces.
- Cover your paint to keep it fresh. Paint tends to dry quickly, even when it’s in a roller tray. The last thing you want is clumpy dried paint! To avoid this, place a lid over your bucket of paint and aluminum foil over your roller trays if you plan to take a break over 10 minutes.
- Clean up your mistakes with paint remover. After all, no matter how careful you are, the likelihood is that you’ll get paint on something you didn’t mean to. Paint remover is particularly useful for removing dried latex paint from trim, countertops, door hinges, and vinyl floors.
- Keep a rubbish bin close at hand. It may sound like common sense, but it can be easily forgotten when you’re distracted by the excitement of a new painting project. Painting is a very messy job and is likely to create more rubbish than you’d expect. To make sure that you’re always prepared, hang rubbish bags on doorknobs around the painting area.
- Paint the trim before the ceiling and walls. You don’t have to worry about being neat, the more important thing is to ensure a nice smooth finish on the wood. If you get any paint on the walls, you’ll cover it later. After the trim is completely dry (it will require at least 24 hours to dry), tape it off with painter’s tape and then continue painting the ceiling and walls.
Painting conditions
Just as it is important how you paint, it is also important where and when you paint. If you are painting on a damp day, the paint will take much longer to dry. By keeping the room warm and a fan blowing, you can help speed up this process. Taubmans estimates that it will take roughly a weekend to paint an entire room. However, the amount of time it takes to paint the room will also depend on the room’s size, how you’re painting, and your skill level. So, try to plan your project for a period with good weather conditions and minimal rain if possible. It is always best to set aside more time than you think you’ll need and account for the time it will take to prepare and clean-up.
Clean Up
Although not the most fun step, clean up is still important. Firstly, remove all painter’s tape from the walls. Gather all drop cloths, making sure any paint spills are dry before you move them. For brushes used with latex and water-based paints, you can wash them in soap and water. Oil-based paints will require mineral spirits for cleaning. Painter’s tape can help clean and reshape bristles. If you would like to reuse your roller covers, use the curved edge of a 5-in-1 tool to remove the excess paint under running water. All that’s left to do is admire your handiwork and enjoy your fresh new room!


How do I get a painter’s licence in NSW? [Australia 2023]
In most states and territories of Australia you need formal qualifications and licences if you want to complete trades work like carpentry, electrical ...
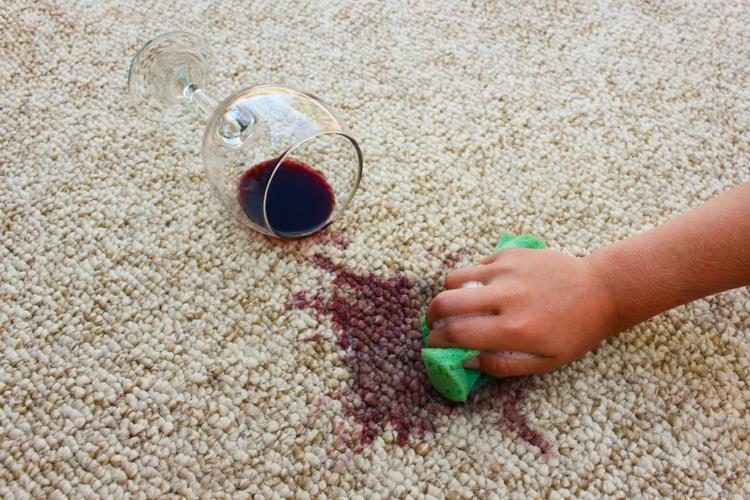
How To Get Red Wine Out Of Carpet
Sometimes, as hard as we try to avoid it, someone spills red wine on the carpet. It’s even worse when the carpet is a light colour! In their despair, ...
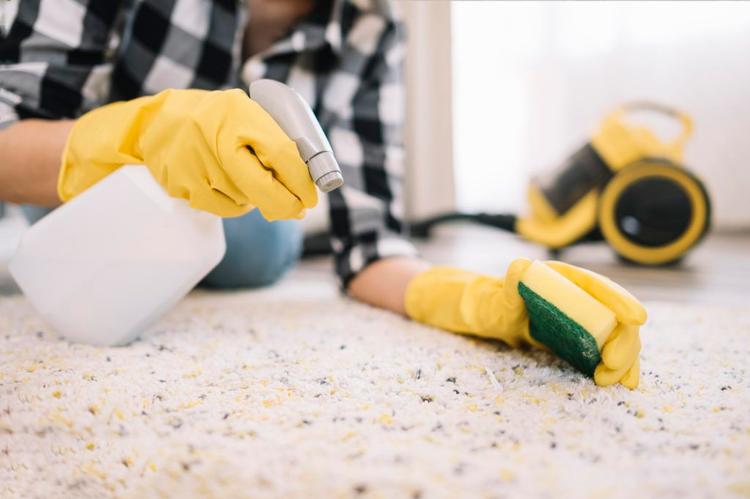
How To Remove Stains From Carpet
Everybody wants their carpet to stay looking beautiful and brand new forever. You’ve just got a new carpet, and you couldn’t be happier with how clean ...
How To Paint A Room
Do you want to brighten up your room but don’t know the best way to paint it? Have the perfect creative vision but aren’t sure how to bring it to life ...

How To Start A Removals Business
Removalist services are always in demand because people are always moving. Whether it be moving a business or house, the act of moving can be a stress ...
How To Choose The Perfect Pet Sitter
Whether you’re going on a work trip or a holiday, you want to ensure that you find the best pet sitter for your furry friend. Choosing a pet sitter ca ...